
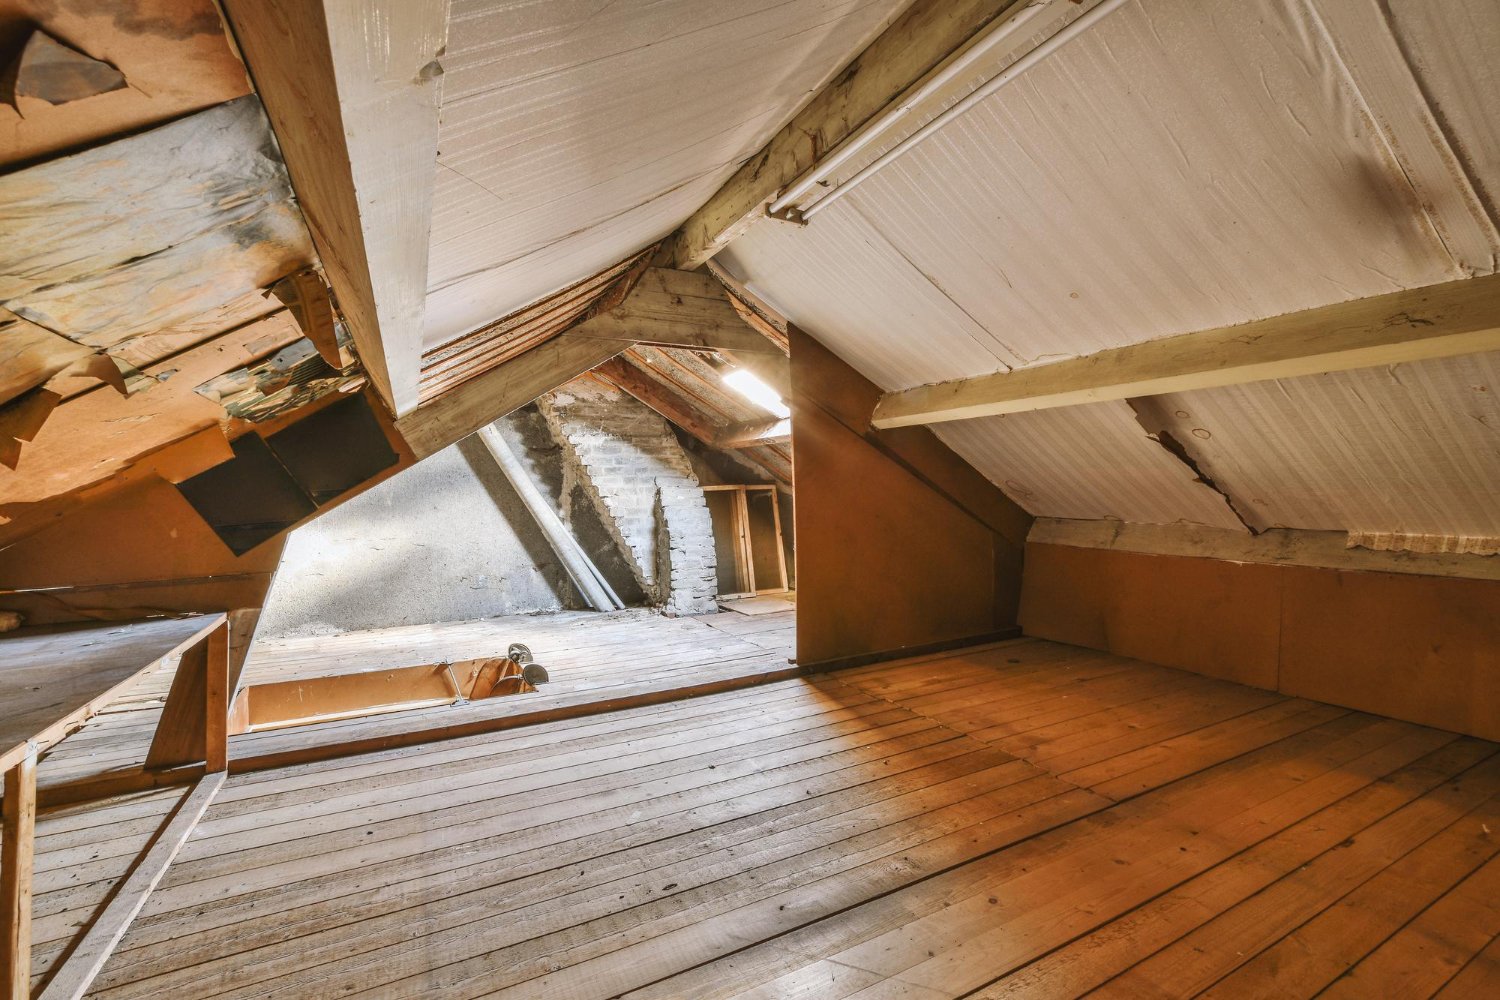

Transforming your attic into a functional space can be an exciting project. Whether you’re creating an extra bedroom, a home office, or a cozy retreat, installing drywall is an essential step in the process. This Attic drywall installation guide aims to provide you with a comprehensive understanding of how to successfully complete this task. By following these instructions, you’ll be well-equipped to handle the challenges of attic drywall installation.
Before diving into the details, it’s important to plan your project carefully. Consider factors such as insulation, ventilation, and lighting. Proper planning will ensure a smooth installation process and a comfortable living space. For more inspiration and ideas on attic transformation, check out this Attic Remodel Guide.
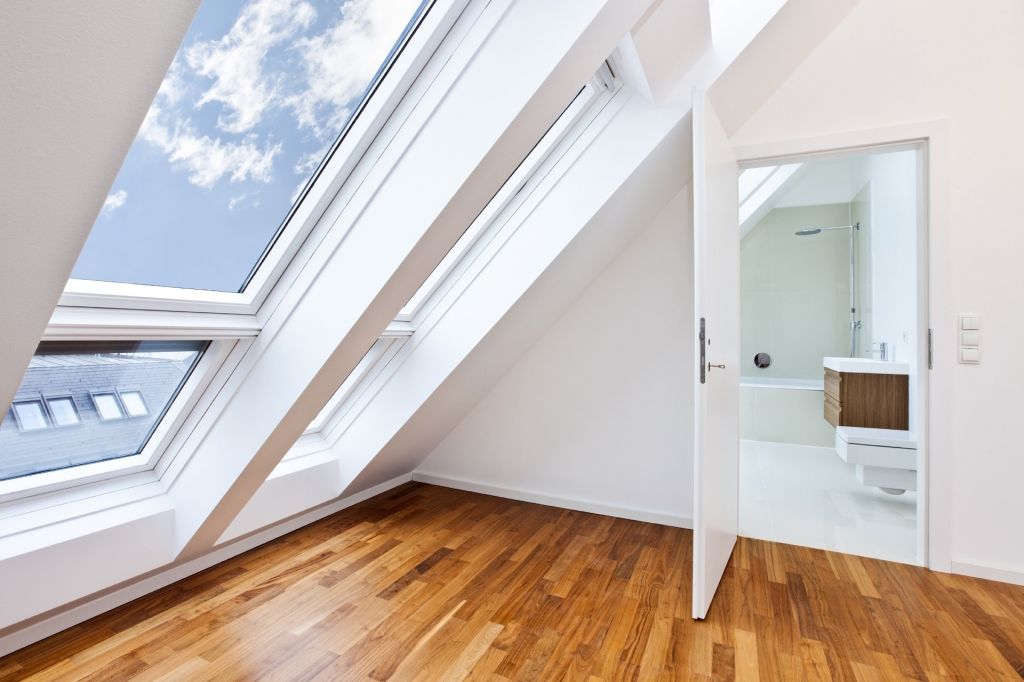
Understanding the Basics of Drywall
Drywall, also known as gypsum board or plasterboard, is a popular material used in construction for creating walls and ceilings. It is made of a gypsum core sandwiched between two layers of paper. Drywall is known for its fire resistance, soundproofing qualities, and ease of installation. Understanding the properties of drywall will help you make informed decisions during your attic renovation project.
Types of Drywall
There are several types of drywall to choose from, each with its own advantages:
- Standard Drywall: This is the most common type of drywall used in residential construction. It is suitable for most interior applications.
- Moisture-Resistant Drywall: Ideal for areas prone to moisture, such as bathrooms and kitchens.
- Fire-Resistant Drywall: Used in areas that require additional fire protection, such as garages and utility rooms.
- Soundproof Drywall: Designed to reduce noise transmission between rooms, making it ideal for home theaters or music studios.
Tools and Materials Needed
Before you begin the installation, gather the necessary tools and materials:
- Drywall sheets
- Drywall screws
- Joint compound
- Drywall tape
- Utility knife
- Drywall saw
- Tape measure
- Drill
- Screwdriver
- Sandpaper
- Dust mask
- Safety goggles
Preparing the Attic for Drywall Installation
Preparation is key to a successful drywall installation. Follow these steps to get your attic ready:
Inspecting the Attic Structure
Before installing drywall, inspect the attic’s structural integrity. Check for any signs of damage, such as water leaks or pest infestations. Repair any issues before proceeding with the installation.
Installing Insulation
Proper insulation is crucial for maintaining a comfortable temperature in your attic. Install insulation between the attic joists to improve energy efficiency and reduce noise. For more information on attic insulation, visit Attic Ventilation Guide.
Ensuring Proper Ventilation
Ventilation is essential to prevent moisture buildup and maintain air quality. Ensure that your attic has adequate ventilation by installing vents or fans as needed.
Step-by-Step Drywall Installation
Once your attic is prepared, follow these steps to install drywall:
Measuring and Cutting Drywall
Measure the dimensions of your attic walls and ceilings. Use a utility knife or drywall saw to cut the drywall sheets to fit the space. Be sure to leave a small gap between the drywall and the floor to allow for expansion.
Attaching Drywall to the Structure
Begin attaching the drywall sheets to the attic’s framing using drywall screws. Start with the ceiling and work your way down to the walls. Use a drill to secure the screws, ensuring they are flush with the surface of the drywall.
Taping and Mudding the Joints
Apply drywall tape over the seams between the sheets. Use a joint compound to cover the tape, creating a smooth surface. Allow the compound to dry before applying additional coats as needed.
Sanding and Finishing the Surface
Once the joint compound is dry, sand the surface to achieve a smooth finish. Be sure to wear a dust mask and safety goggles to protect yourself from dust. After sanding, wipe the surface clean and apply a primer before painting or finishing.
Conclusion
Installing drywall in your attic can be a rewarding project that adds value to your home. By following this Attic drywall installation guide, you’ll be able to create a functional and comfortable living space that meets your needs. For more tips on transforming your attic, explore the Home Theater Setup and Home Office Ideas for your attic.
FAQs
How much drywall do I need for an attic?
Calculate the square footage of your attic walls and ceilings to determine the amount of drywall you’ll need. It’s a good idea to purchase extra material to account for mistakes or adjustments.
Can I install drywall myself?
Yes, drywall installation can be a DIY project if you have the necessary tools and skills. However, if you’re unsure, it’s best to hire a professional to ensure a high-quality finish.
What is the cost of installing attic drywall?
The cost of installing drywall in your attic will vary depending on the size of the space, the type of drywall used, and labor costs. For a detailed cost breakdown, refer to the Attic Conversion Cost Guide.
This article contains affiliate links. We may earn a commission at no extra cost to you.


