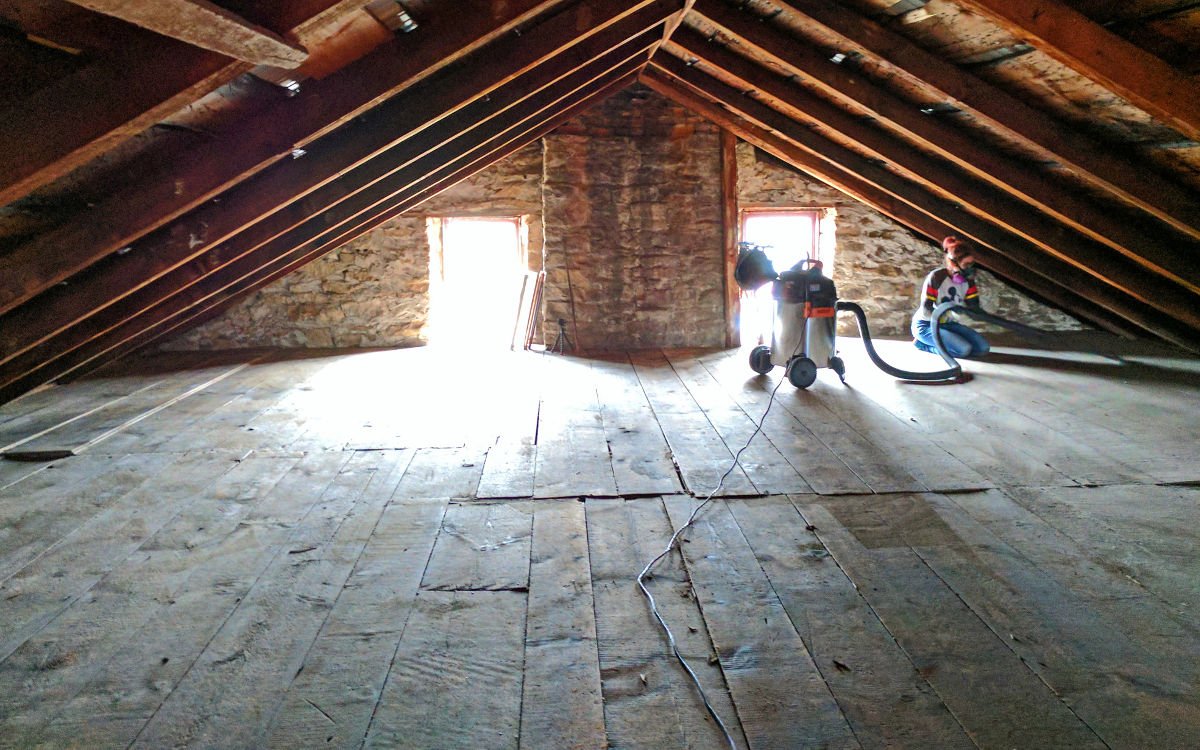
Embarking on a new construction project can be both exciting and challenging, especially when it comes to installing plumbing systems. DIY plumbing for new construction offers a rewarding opportunity to create a functional and efficient system tailored to your needs. Understanding the basics of plumbing can empower you to tackle this aspect of construction with confidence.
For homeowners and real estate developers, mastering DIY plumbing can significantly reduce costs and provide a deeper appreciation of the intricacies involved. Whether you’re building your dream home or working on a development project, this guide will equip you with essential knowledge and skills.

Understanding the Basics of Plumbing Systems
Before diving into the DIY plumbing process, it’s crucial to understand how plumbing systems work. A typical system consists of three main components: water supply lines, drainage systems, and fixtures. Each plays a vital role in ensuring water is delivered and disposed of efficiently throughout the building.
Water Supply Lines
These pipes deliver fresh water into your home. They connect to the main water line and distribute water to various fixtures. It’s essential to choose durable materials like copper or PEX for these lines to ensure longevity.
Drainage Systems
This component is responsible for removing wastewater from your home. Proper installation of drainage pipes, including the use of traps and vents, is crucial to prevent clogs and sewer gas from entering the building.
Plumbing Fixtures
Fixtures include sinks, toilets, and showers. Selecting high-quality fixtures can enhance the functionality and aesthetic appeal of your space.
Planning Your Plumbing Layout
A well-thought-out plumbing layout is essential for new construction. Planning involves determining the optimal placement of pipes and fixtures to maximize efficiency and accessibility. Consulting with a professional can provide valuable insights, ensuring your DIY approach aligns with local building codes.
Creating a Blueprint
Start by sketching a blueprint of your home, marking locations for plumbing fixtures. This step is crucial for visualizing the layout and identifying potential challenges.
Ensuring Compliance with Codes
Adhering to local plumbing codes is vital for safety and functionality. These regulations dictate the materials, installation methods, and fixture specifications. It’s advisable to consult resources like the Essential Guide to Plumbing for comprehensive information.
Gathering Essential Tools and Materials
Equipping yourself with the right tools and materials can streamline the DIY plumbing process. Basic tools include pipe wrenches, pliers, and a hacksaw. Additionally, materials such as pipes, fittings, and sealants are crucial for a successful installation.
Choosing the Right Pipes
The selection of pipes depends on several factors, including water pressure and temperature. Copper and PEX are popular choices due to their durability and ease of installation.
Investing in Quality Tools
High-quality tools not only make the job easier but also ensure precision and safety. Consider investing in a pipe cutter, soldering tools, and a level for accurate installations.
Step-by-Step DIY Plumbing Installation
Installing Water Supply Lines
Begin by connecting the main water line to your home. Use T-fittings to distribute water to various fixtures, ensuring each connection is secure and leak-free.
Setting Up Drainage Systems
Install drainage pipes with proper slope to facilitate efficient flow. Incorporate traps and vents to prevent sewer gas from entering the building.
Attaching Plumbing Fixtures
Securely attach fixtures to water supply and drainage systems. Ensure fixtures are level and properly sealed to prevent leaks.
Troubleshooting Common Plumbing Issues
Even with careful planning, plumbing issues may arise. Being prepared to troubleshoot common problems can save time and resources.
Addressing Leaks
Leaks are often caused by loose connections or damaged seals. Regularly inspect joints and fittings, tightening or replacing them as needed.
Unclogging Drains
Clogs can occur in drainage pipes, leading to slow drainage. Use a plunger or plumbing snake to remove blockages and restore normal flow.
Maintaining Your Plumbing System
Regular maintenance is key to ensuring the longevity and efficiency of your plumbing system. Schedule routine inspections and cleanings to prevent issues from escalating.
Conducting Regular Inspections
Inspect pipes and fixtures for signs of wear and tear, such as corrosion or leaks. Promptly address any issues to prevent further damage.
Cleaning Drains and Pipes
Regularly clean drains and pipes to prevent buildup and clogs. Natural solutions like baking soda and vinegar can effectively clean pipes without harsh chemicals.
Conclusion
Embarking on a DIY plumbing project for new construction is a rewarding journey that offers both challenges and opportunities. By understanding the basics, planning thoroughly, and investing in quality tools, you can create a plumbing system that meets your needs and exceeds your expectations. For further guidance and inspiration, consider exploring resources like Basic Plumbing Layout for comprehensive insights.

FAQs
What is the most common mistake in DIY plumbing?
One common mistake is not adhering to local plumbing codes, which can lead to safety hazards and inefficient systems. Always consult the relevant codes before starting your project.
How can I prevent leaks in my plumbing system?
Ensure all connections are tight and properly sealed. Regularly inspect joints and use high-quality materials to minimize the risk of leaks.
What should I do if I encounter a major plumbing issue?
If you face a major issue, such as a burst pipe or severe clog, it’s advisable to contact a professional plumber. They have the expertise and tools to resolve complex problems efficiently.
This article contains affiliate links. We may earn a commission at no extra cost to you.